
How to Make Scented Soy Candles: Complete Recipe & Troubleshooting
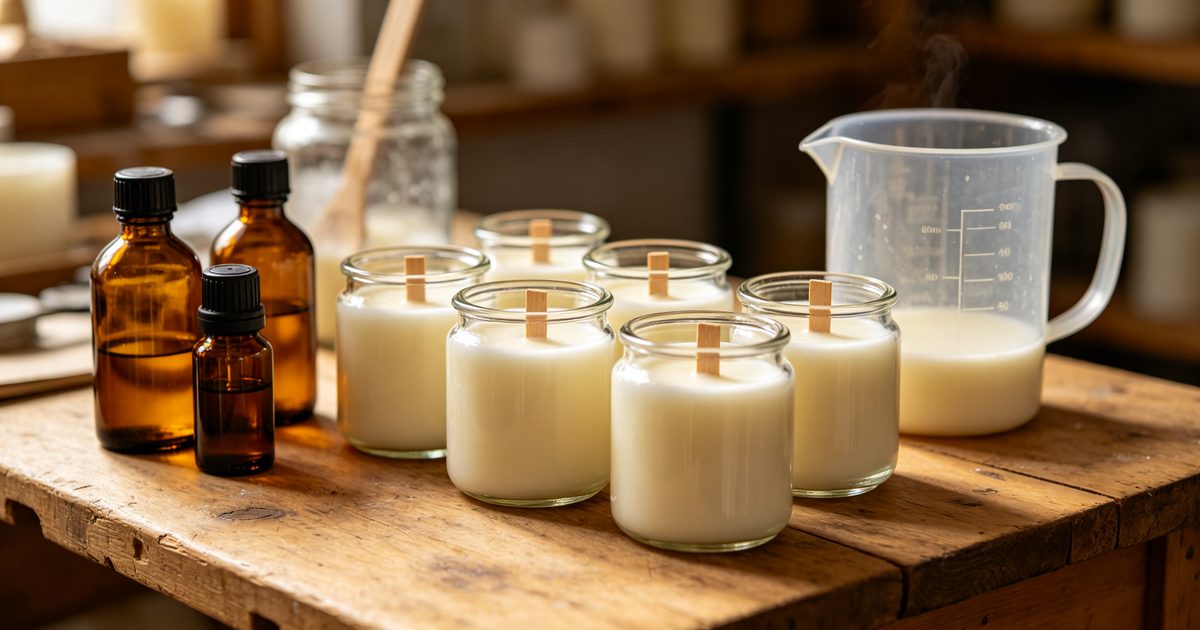
Soy candles look deceptively simple: melt wax, add scent, pour, done. Then your first batch frosts over, tunnels down the middle, and smells like nothing when it burns. The gap between "melted wax in a jar" and a candle that burns cleanly and fills a room comes down to a handful of numbers — fragrance load, add-in temperature, pour temperature, and cure time — plus a wick matched to your jar.
This guide gives you a complete, repeatable recipe using industry-standard ranges, a materials checklist with reliable sources, and a troubleshooting section that maps every common defect to its actual cause. The ratios and temperatures below reflect widely accepted candle-making practice from major wax and supplier documentation; always defer to your specific wax manufacturer's data sheet when it differs.
What You'll Need
Everything here is available from established craft suppliers like CandleScience, Bramble Berry, or The Flaming Candle, all of which publish technical data sheets for their waxes and fragrance oils.
- Container soy wax — a container-blend soy wax such as GoldenWax 464 or NatureWax C-3. These are formulated to adhere to glass and hold fragrance well.
- Fragrance oil — a candle-grade, phthalate-free oil. See our best fragrance oils for candle making comparison for vetted picks.
- Wicks — pre-tabbed cotton or wood wicks sized to your jar diameter (wick charts from your supplier are the reliable starting point, e.g. an ECO or CD series for soy).
- Heat-safe containers — candle-rated glass or tins, cleaned and at room temperature.
- Tools — a double boiler or wax melter, a digital thermometer (infrared or probe), a digital scale accurate to 1 g, a pouring pitcher, wick stickers or a glue gun, and wick-centering bars or clothespins.
Soy Candle Making Starter Kit
The fastest way to get every consumable in one box: container soy wax, pre-tabbed wicks, jars, a thermometer, and a pitcher. Ideal for your first two or three batches before you start buying components in bulk.
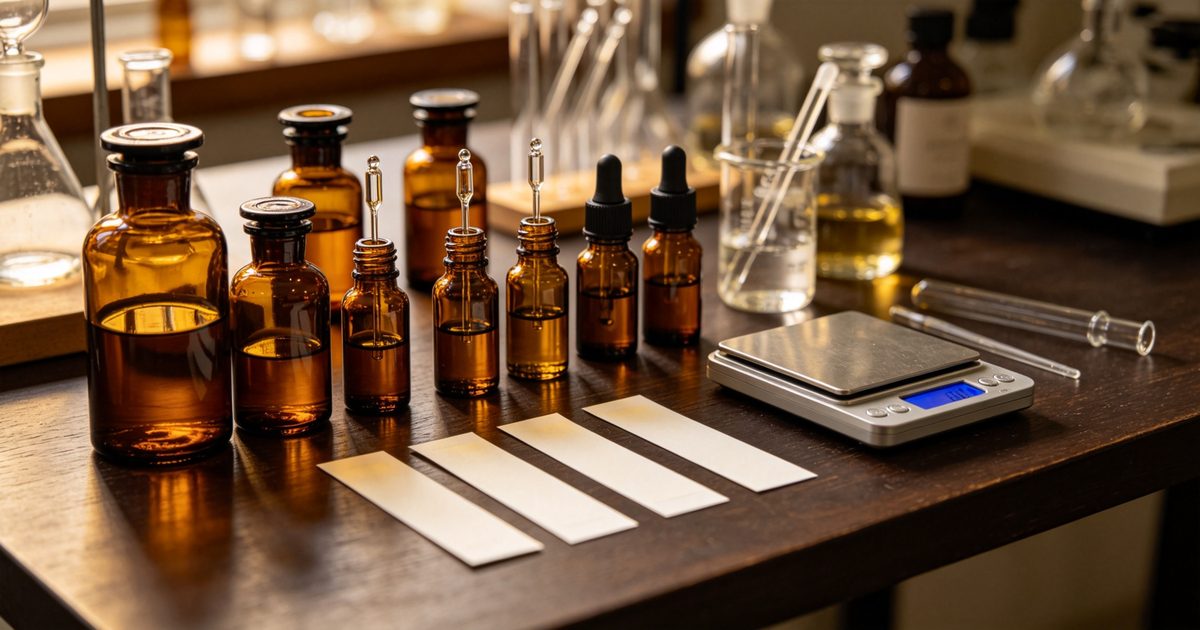
Candle Fragrance Oil Sampler Set
A multi-scent sampler lets you compare hot throw across scent families without committing to full bottles. Look for sets that state phthalate-free formulation and candle usage on the label.
Choosing Your Wax: A Quick Comparison
All three options below are proven container waxes stocked by the major suppliers. Differences come down to finish, fragrance capacity, and how forgiving they are for beginners. This comparison is based on spec comparison and verified buyer feedback rather than lab testing.
| Wax | Max Fragrance Load | Finish & Behavior | Best For | Where to Buy |
|---|---|---|---|---|
| GoldenWax 464 (soy) | Up to ~10–12% | Smooth tops, good glass adhesion | Beginners, container candles | · |
| GoldenWax 444 (soy) | Up to ~10–12% | Slightly harder, less frosting-prone | Warmer climates, shipping | · |
| NatureWax C-3 (soy) | Up to ~10% | Creamy finish, strong throw | Classic all-soy jars | · |
| Coconut-soy blend | Up to ~10–12% | Very smooth, excellent adhesion | Premium look, upscale lines | · |
← Swipe to see more →
The Complete Soy Candle Recipe, Step by Step
This batch makes roughly two 8 oz candles. Scale linearly by weight — never by volume.
Step 1: Weigh and melt the wax
Weigh out 450 g (about 1 lb) of container soy wax and melt it in a double boiler over medium heat. Direct heat scorches wax and creates hot spots, so keep the water bath between the flame and your pitcher. Heat the wax to about 180–185°F (82–85°C), stirring occasionally. Do not exceed ~200°F (93°C); overheated wax can discolor and degrade fragrance later.
Step 2: Prepare jars and wicks while the wax melts
Secure a wick to the center of each jar with a wick sticker or a dot of hot glue, then clamp it upright with a centering bar or clothespin. Room-temperature jars are fine; if your workspace is cold, warming jars slightly (to around 100°F / 38°C) reduces wet spots and jump lines.
Step 3: Add fragrance oil at 185°F
At ~185°F (85°C), remove the pitcher from heat and add your fragrance oil. For a standard 8% load, that is 36 g of oil for 450 g of wax (the practical range is 6–10%; stay at or under your wax's stated maximum). Stir gently and steadily for about two minutes — long enough for full binding, gentle enough to avoid whipping in air bubbles.
Step 4: Cool to pour temperature, then pour
Let the scented wax cool to about 135°F (57°C) — the commonly cited sweet spot for container soy is roughly 125–145°F (52–63°C). Pouring too hot causes sinkholes and frosting; too cool causes rough, lumpy tops. Pour slowly down the side of the jar, leaving a small headspace, and reserve a few tablespoons of scented wax for top-ups later.
Step 5: Cool undisturbed, then top up if needed
Let candles cool at room temperature, away from drafts, for 12–24 hours. If a sinkhole appears around the wick, poke one or two relief holes and re-melt your reserved wax to about 10°F above your pour temperature, then top up to level. A heat gun pass works for minor surface flaws.
Step 6: Trim and cure
Trim the wick to about 1/4 inch (6 mm) and put a lid on the jar. Now the hardest part: wait one to two weeks. Soy wax keeps crystallizing after pouring, and the fragrance needs that time to distribute evenly. A candle burned at day two will underperform the identical candle at day fourteen.
Burn Testing and Wick Sizing
Before gifting or selling any candle, run a burn test: light it, and check at the two- and four-hour marks. You want a full melt pool reaching the jar edges within three to four hours, a steady flame around an inch tall, minimal mushrooming, and no soot on the glass. If the melt pool stalls short of the edges, size the wick up; if the flame flares, smokes, or the jar gets worryingly hot, size down. Change one variable at a time — wax, fragrance load, dye, and jar diameter all shift the ideal wick, which is why suppliers publish wick charts as starting points rather than final answers.
Troubleshooting: Every Common Soy Candle Problem
- Frosting (white, crystal-like patches) — a natural trait of soy as it crystallizes, not a safety issue. Reduce it by pouring at the lower end of the temperature range, cooling slowly away from drafts, and avoiding over-stirring. It is cosmetic only.
- Tunneling — the first burn set a "memory ring." Always let the first burn reach a full melt pool (about one hour per inch of diameter). If the wick is undersized for the jar, size up.
- Sinkholes — wax shrinks as it cools. Pour at the correct temperature, cool slowly, and keep reserved wax for a top-up pour.
- Wet spots (wax pulling from the glass) — caused by fast or uneven cooling. Warm jars slightly before pouring and cool candles away from cold surfaces and drafts. Purely cosmetic.
- Weak hot throw — check in order: fragrance load below 6%, oil added too hot (top notes flashed off), cure under a week, or an undersized wick with a shallow melt pool. Our fragrance oil guide also covers which scent families naturally throw softer.
- Soot or mushrooming wick — wick too large, untrimmed wick (trim to 1/4 inch before every burn), or fragrance load above the wax's capacity.
- Rough or lumpy tops — poured too cool, or the candle cooled too fast. Re-melt the surface with a heat gun to level it.
Frequently Asked Questions
At what temperature should I add fragrance oil to soy wax?
Add fragrance oil when the melted wax is around 185°F (85°C). This is hot enough for the oil to bind fully with the wax but cool enough that the volatile top notes do not flash off. Stir gently for about two minutes, then let the wax cool to your target pour temperature, typically around 135°F (57°C) for container soy.
How long should soy candles cure before burning?
Plan on one to two weeks of curing at room temperature. Soy wax continues to crystallize after pouring, and the fragrance oil needs time to distribute evenly through that crystal structure. A candle burned at 48 hours will smell noticeably weaker than the same candle burned at 14 days.
Why is my soy candle tunneling?
Tunneling happens when the first burn is too short to create a full melt pool, or when the wick is too small for the jar diameter. Let the first burn run until melted wax reaches the edges (about one hour per inch of diameter), and size up your wick if the melt pool never reaches the glass even after three to four hours.
How do I fix sinkholes and rough tops on finished candles?
Sinkholes form as wax shrinks while cooling. Keep a small amount of reserved scented wax, poke relief holes around the wick once the surface skins over, and top up with wax at about 10 degrees above your original pour temperature. For minor surface flaws, a quick pass with a heat gun re-melts and levels the top.
The Bottom Line
Great soy candles are a numbers game you can win on the first try: 6–10% fragrance by weight, oil in at about 185°F, pour near 135°F, a wick matched to your jar, and a two-week cure. Dial those in, and the only variable left is which scent to pour next.
Ready to choose your scent? Compare vetted options in our best fragrance oils for candle making roundup, learn to blend your own signature accords in the home formulation guide, or browse all our candle & soap making guides.
Related Articles
This post may contain affiliate links. If you click and buy, we may earn a small commission at no extra cost to you.